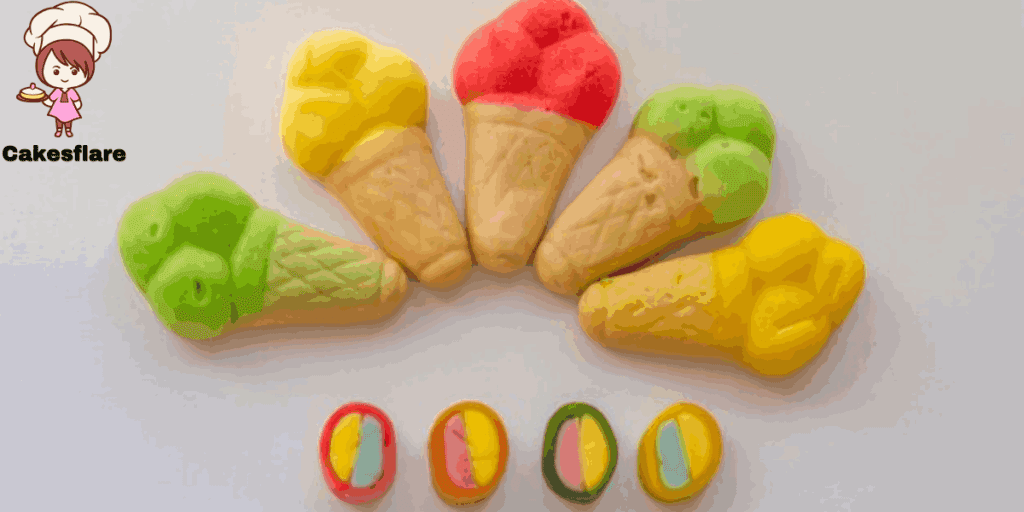
Play Dough Ice Cream: The Fun, Edible Craft for Kids!
Play Dough Ice Cream is a delightful and edible craft that looks like real ice cream! This soft and moldable dough is perfect for pretend play, letting kids create their ice cream shop with scoops, cones, and fun toppings. Unlike real ice cream, this play dough won’t melt, making it the perfect activity for creative little hands. With just two simple ingredients, it’s incredibly easy to make and helps develop fine motor skills while encouraging imaginative play. Whether your child is setting up a make-believe sundae stand or simply enjoying the sensory experience, this play dough will bring joy and creativity to playtime!
Why You’ll Love This Recipe
This Play Dough Ice Cream isn’t just a fun and colourful activity—it’s a hands-on way to spark creativity in kids! They can scoop, shape, and decorate their pretend ice cream creations while strengthening their hand and finger muscles. The soft, realistic texture makes it feel like real ice cream, and the pastel colours add to the charm. Plus, it takes only 10 minutes to make and stores well for months.
Not only is it a great way to encourage learning through play, but it’s also a fantastic bonding activity. Kids can mix, knead, and choose their favourite “flavours,” creating their mini ice cream parlour. Whether crafting with little ones or setting up a sensory play station, this easy-to-make dough will surely be a hit!
Ingredients for Play Dough Ice Cream
Quantities:
- 1 1/4 cups flour
- 1 batch makes enough for two kids
- 1 can of pre-made frosting (e.g., Pillsbury Pink Lemonade—smells fantastic!)
Dry Ingredients:
- A pinch of salt
- Powdered sugar
- Cornmeal (optional for extra texture)
Liquids & Color:
- Water
- Food colouring or food dye (optional, for vibrant colours)
Bonus: Using pre-made frosting makes this recipe super simple and mess-free!
How to Make Play Dough Ice Cream
Step 1: Mix the Ingredients
In a bowl, stir together the frosting and flour until they form a dough.
Step 2: Knead the Dough
Use your hands to knead the mixture until it becomes smooth and pliable.
- If the dough is too sticky, add a little more flour.
- If it feels too stiff, add a few drops of water to soften it.
Step 3: Add Powdered Sugar
Gradually mix in the powdered sugar, adding it slowly while stirring. Using a mixer, use the dough hook attachment and frequently scrape the bowl’s sides. Keep mixing until the dough has a texture similar to firm ice cream.
Step 4: Make Multiple Flavors
Repeat the process for different “flavours,” using various frosting flavours and food colouring to create a rainbow of ice cream play dough.
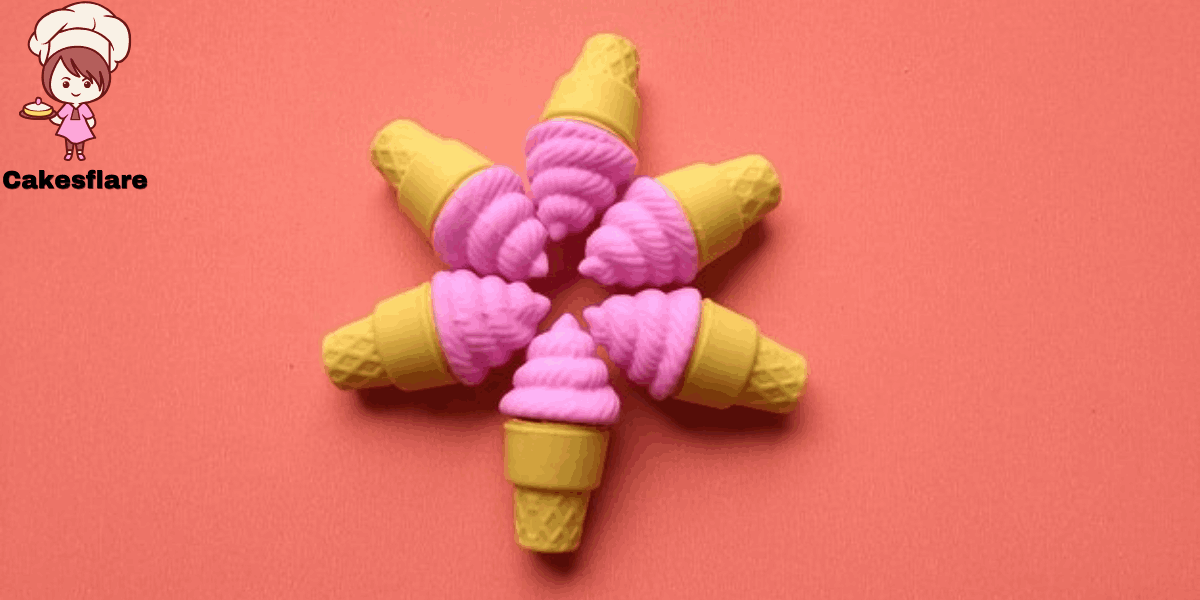
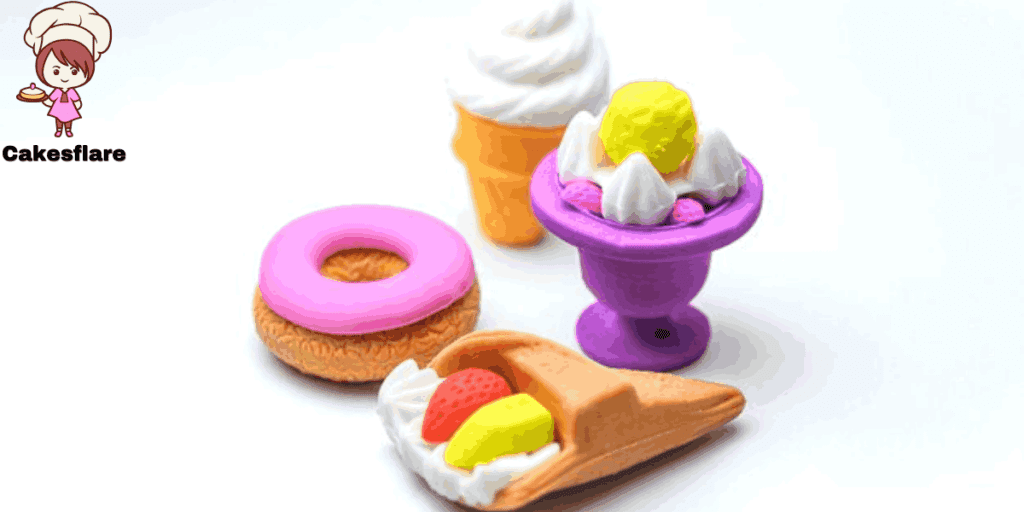
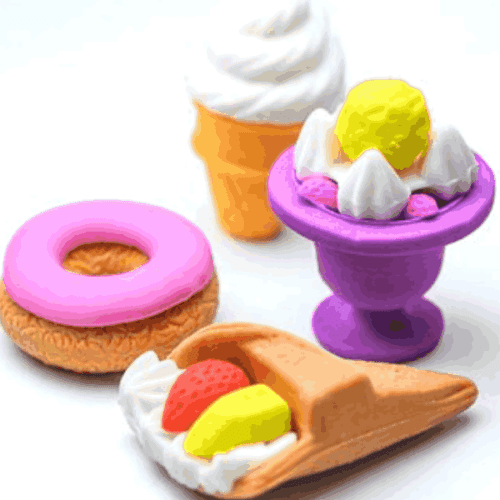
Step 5: Scoop and Decorate
Once your play dough is ready, scoop it into pretend cones or bowls using an ice cream scoop or spoon. For extra fun, top with sprinkles, faux chocolate chips, or other decorations to make it look even more realistic.
How to Play & Serve
Encourage kids to use their creativity by creating a pretend ice cream shop!
- Use an ice cream scoop to create swirled scoops of play dough.
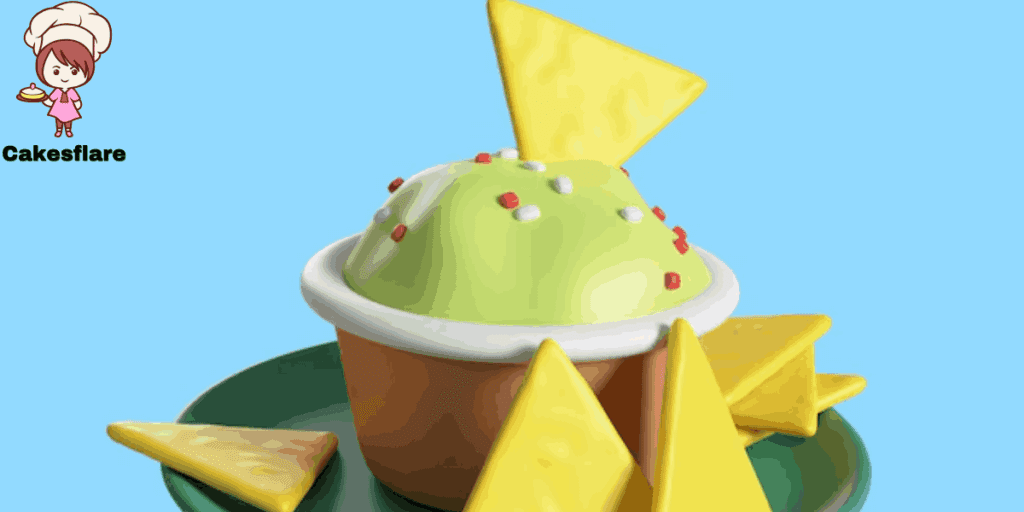
- Serve in small bowls, cones, or toy ice cream cups.
- Add decorative toppings like sprinkles, faux whipped cream, or “syrup” from brown play dough.
- Use cookie cutters and small tools to shape fun designs.
Let kids mix and match colours, create their “flavours,” and experiment with different textures for an exciting and immersive play experience!
Storage Tips
To keep your Play Dough Ice Cream fresh and soft:
- Store it in an airtight container or wrap it tightly in plastic wrap.
- You can also use frosting containers, mason jars, or resealable plastic bags.
- Properly stored, the play dough will stay fresh for several weeks!
Let kids decorate their storage containers with labels, naming their playdough flavours like real ice cream for extra fun!
Final Thoughts
This Play Dough Ice Cream is more than just a craft—it’s a fantastic way to encourage children’s creativity, sensory exploration, and motor skills development. With its soft, ice-cream-like texture, simple ingredients, and endless possibilities for play, it’s a must-try activity for kids of all ages. Whether you’re making it for a playdate, a rainy-day activity, or just some creative fun, this easy recipe guarantees hours of entertainment.
Frequently Asked Questions (FAQs)
1. What makes this play dough safe and edible?
This play dough is made with just two simple, food-based ingredients: flour and pre-made frosting. Unlike traditional play dough containing salt or other non-edible components, this version is completely safe if accidentally tasted. However, due to its high sugar content, it’s still meant for play rather than eating.
2. How long does Play Dough Ice Cream last?
This play dough can last several weeks when stored correctly in an airtight container. Sealing it in plastic wrap, frosting containers, or resealable plastic bags helps prevent it from drying out. If it becomes too stiff, knead it in a few drops of water to restore its softness.
3. Can I use any frosting for this recipe?
Yes! Pre-made frosting works well, but thicker frostings (like Pillsbury or Betty Crocker) create the best consistency. Choosing different flavours and colours of frosting can make your play dough even more fun and varied, giving kids a rainbow of “ice cream” options.
4. What can I use as toppings for the pretend ice cream?
Kids can get creative with a variety of toppings! Some fun ideas include real or faux sprinkles, small foam balls (to mimic chocolate chips), mini pom-poms, or crushed cereal for texture. Ensure the toppings are safe for small children if they play with the dough.
5. Can I add scents or colours to make it more realistic?
Absolutely! You can use food colouring to create vibrant play dough “flavours.” Adding a drop of vanilla, almond, or peppermint extract can also enhance the sensory experience, making the dough smell like real ice cream. Just be sure to use food-safe additives if young kids will be handling it.
So grab your ingredients, mix up some magic, and watch your little ones light up with excitement as they create their own pretend ice cream treats! 🍦✨
Play Dough Ice Cream recipe
Equipment
- Mixing bowl
- Dough hook attachment (for the mixer)
- Scoop or spoon
- Ice cream maker (optional for creating swirls)
- Serving vessel (e.g., cones, small bowls)
- Plastic wrap or airtight container (for storing)
- Cookie cutters and small brushes (optional for decoration)
Ingredients
- 1 ¼ C. flour
- 1 batch plenty for 2 kids
- Can of frosting like Pillsbury Pink Lemonade flavor, which smelled divine!
- Dry Ingredients
- Salt a pinch
- Powdered sugar
- Cornmeal optional
- Liquids and Color
- Water
- Food coloring or food dye optional
- Additional Information
- Pre-made frosting makes it super easy to put together.
Instructions
- Step 1: Mix the Ingredients
- Stir the frosting and flour together.
- Step 2: Knead the Dough
- Knead the mixture until it forms a dough.
- If it’s sticky, add a little more flour until it no longer sticks to your hands.
- If the dough is stiff, add a couple of drops of water to reach the right consistency.
- Step 3: Add Powdered Sugar
- Gradually mix in the powdered sugar in slow increments using the dough hook attachment on your mixer.
- Make sure to keep scraping the sides of the bowl.
- Mix until the dough has the texture of hard ice cream.
- Step 4: Repeat for Other Flavors
- You can repeat the process for each ice cream flavor you want to make.
- Step 5: Fill the Cones
- Place the doughs in a container and use a scoop or spoon to fill cones.
- Finally, top them with sprinkles or other toppings of your choice.
Notes
Customization: Kids can use their imagination to create various flavors and add toppings like sprinkles, chocolate sauce, and more.
Nutrition Value (Per Serving)
Calories: Approx. 200-300 calories per serving (based on how much dough is used)Fat: 8-12g
Carbs: 30-40g
Sugar: 15-25g
Protein: 2-4g
Information Used:
Quantities: 1 1/4 C. flour, 1 batch, Can of frosting, powdered sugar, water, food coloring.Time: 10-15 minutes.
Equipment: Mixer, Scoop, Ice cream maker.
Serving size: 2 kids.
Cost estimate: $5-$8.
Cuisines: American, Kid-Friendly.