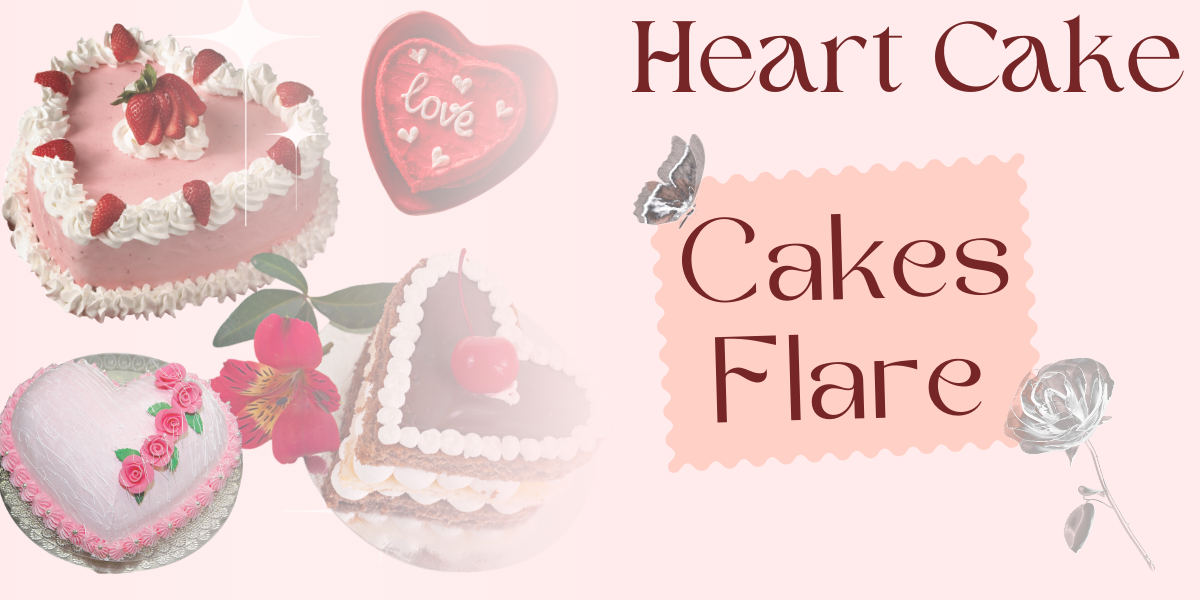
Heart Cake Hacks: Create Stunning Designs Without a Pan
A Sweet Touch for Special Occasions
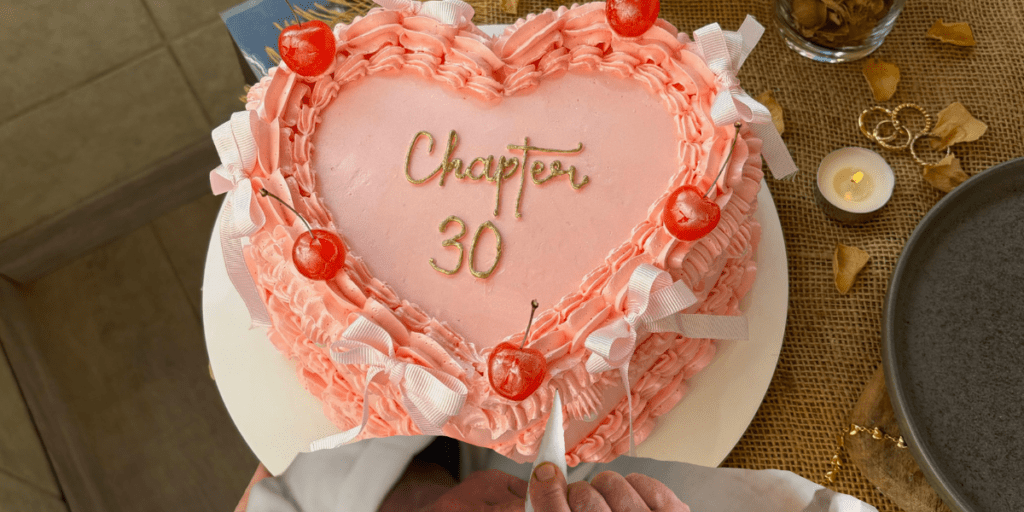
Creating a heart-shaped cake is not just about baking; it’s about adding love to every detail. Whether you’re preparing a Valentine’s Day dessert, a centerpiece for bridal showers or baby showers, or even a thoughtful treat for Mother’s Day, this design never fails to impress. With a simple tutorial, you can transform round cake layers into a stunning centerpiece without the need for a novelty cake pan. From vegan berry cake to a light and airy fluffy cake, there are endless flavor possibilities to suit any celebration. Opt for a lemon cake or a non-chocolate cake, and top it with berry buttercream or vanilla buttercream for a delightful finish.
For decoration, the use of piping tips and a vibrant mix of colors, like AmeriColor Deep Pink and Fuchsia, lets you create stunning color palettes that bring the beauty of your cake to life. A rich pink frosting or layered jam filling adds both flavor and flair. Using gluten-free flour or all-purpose flour ensures you can cater to everyone’s dietary needs. Even a classic chocolate cake recipe or a batch of cupcakes can be adapted to this charming design. By slightly adjusting the temperature, you can bake perfectly fluffy layers in an 8-inch or 9″13″ pan, while a skilled photographer can capture the cake’s elegance for unforgettable memories.
Choosing the Perfect Buttercream for Vintage Piping
Importance of Buttercream Consistency:
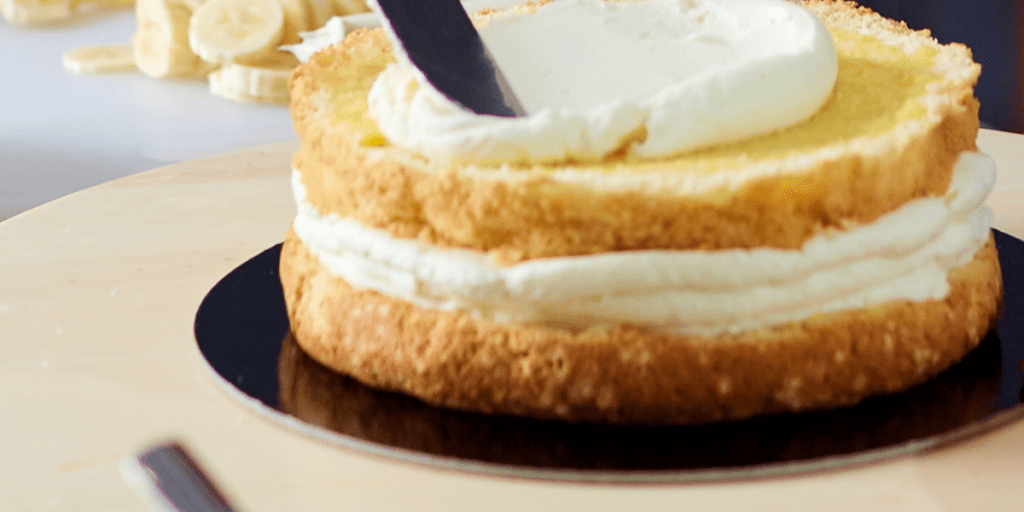
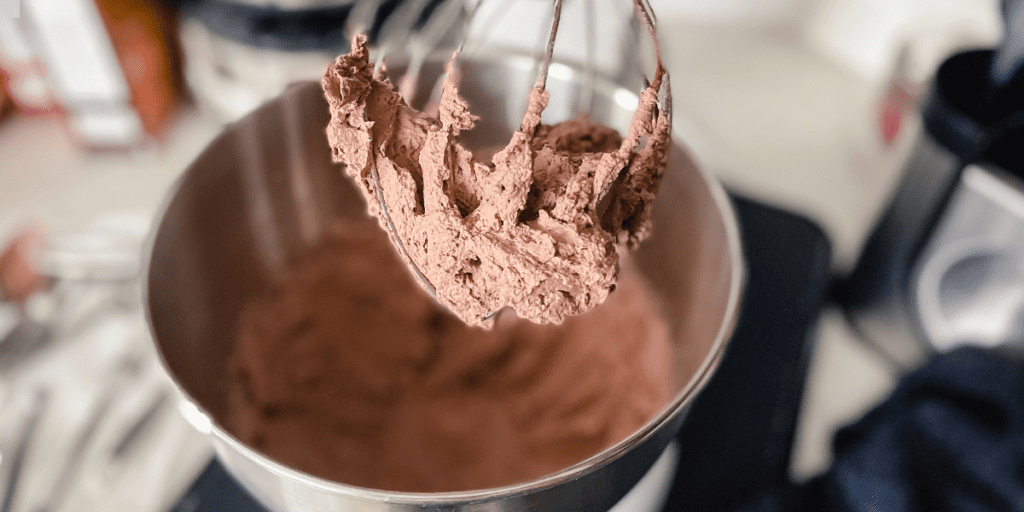
When creating a stunning 8-inch heart cake with vintage designs, the choice of buttercream is crucial. A medium-consistency buttercream works best for achieving clean, intricate piping and smooth edges on shell borders. Whether you’re following an American buttercream recipe or a vanilla buttercream recipe, ensuring the right consistency can make all the difference. Too soft, and the designs may appear wilted; too stiff, and they might turn out jagged. For smooth frosting, start by layering a proper crumb coating and carefully assembling the layers, with a generous filling to hold everything together.
Preparation Tips:
From a reliable decorating tutorial to tips shared in a blog post, preparation is key. Plan ahead and make enough buttercream to avoid running out in the middle of decorating. Extra frosting can always be stored in the freezer for future cakes. The effort to perfect the designs is worth it when the finished cake looks flawless and elegant, ready for any celebration.
Ideas for Writing on a Vintage Heart Cake
Personal Message Ideas:
Adding a personal message to a vintage cake transforms it into a memorable centerpiece for any occasion. For a birthday, you can include fun phrases like “twenty-one” or highlight their star sign with something playful like “aries baby.” Classic Valentine’s phrases, inspired by conversation heart candies, such as “I love you,” LOVE, or xoxo, are perfect for a romantic touch. If you’re feeling creative, draw a heart and decorate it with nonpareils for a charming design.
Inspiration Sources:
If you’re struggling with writer’s block, take inspiration from Instagram or look through designs of vintage cakes online. You might also consider adding short song lyrics or meaningful words to make the cake unique. Whether for a fun event or a sweet surprise, phrases like “classic happy birthday” always fit. Don’t hesitate to experiment with chocolate accents or draw unique elements to make the design perfect.
Creating the Perfect Heart-Shaped Cake Layers
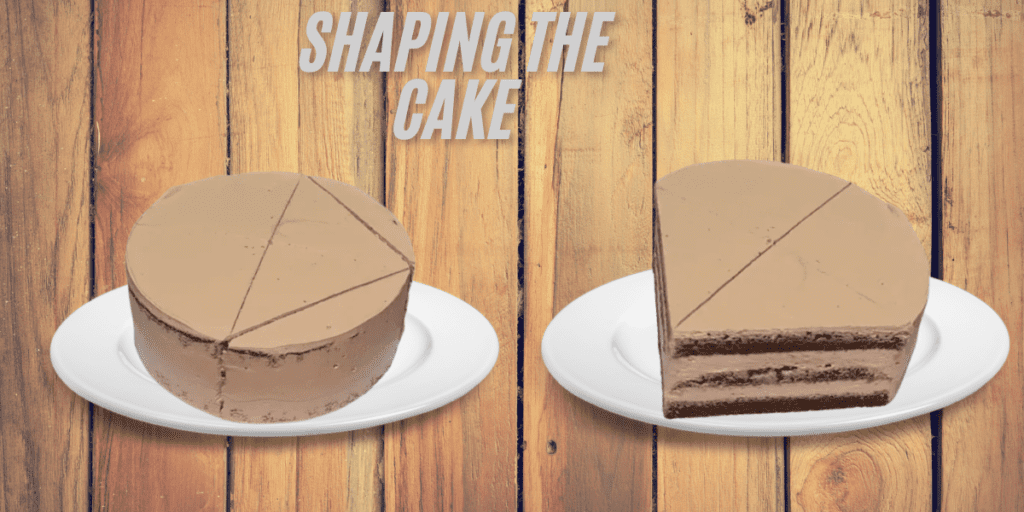
Shaping the Heart:
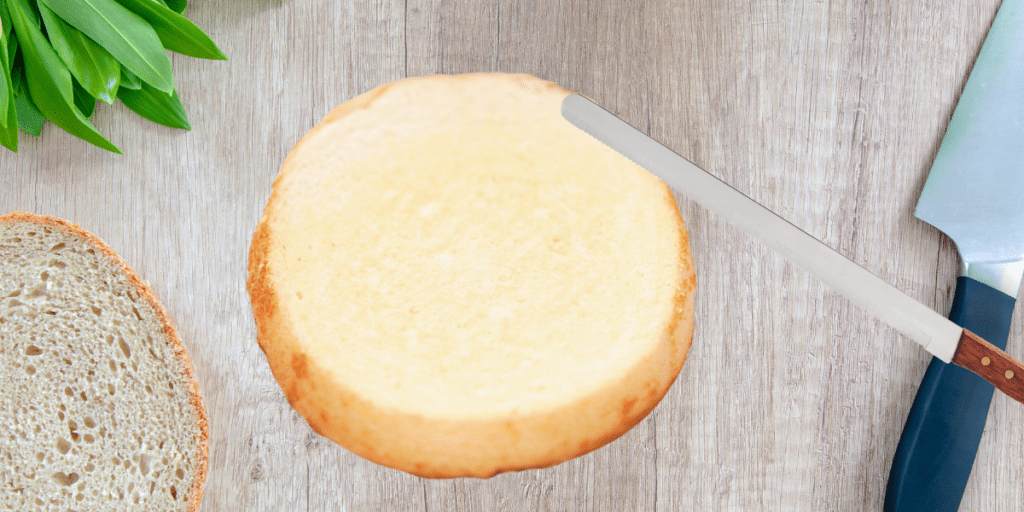
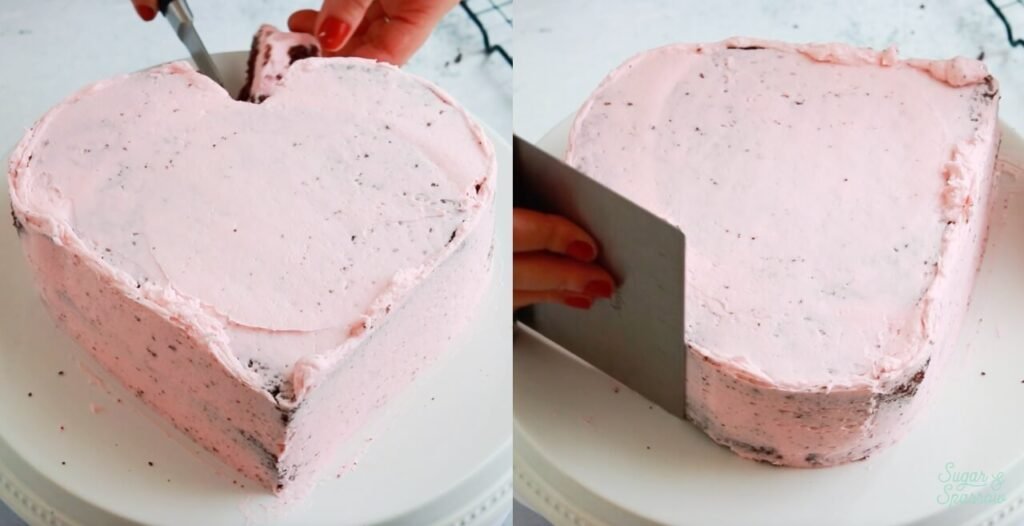
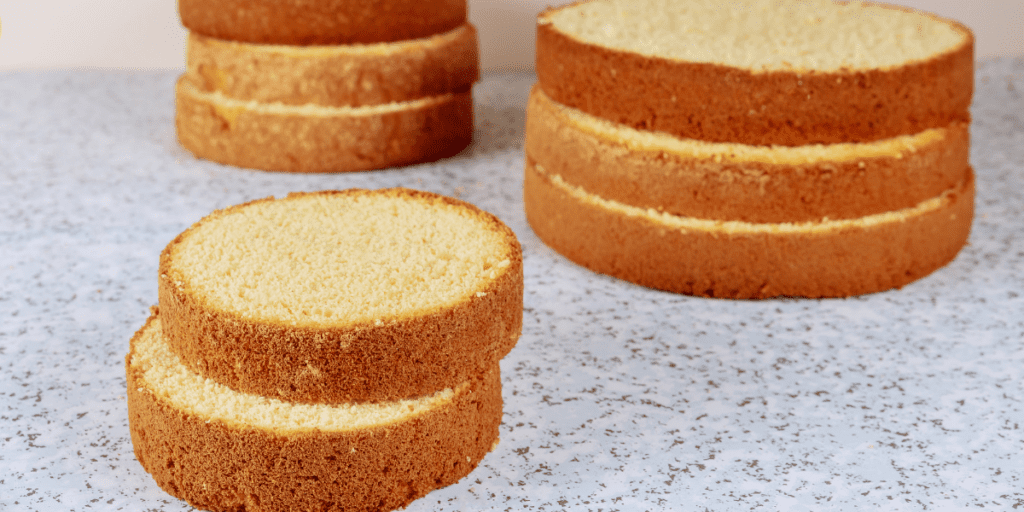
To make a heart shape, start by placing your cake on a cutting board. Use a serrated knife to make two cuts that form the pointed part of the heart, and set aside the smaller pieces. These will become the rounded parts at the top. For precision, trace a template onto cardboard and cut it out with an X-acto knife to create a custom cake board, or skip this step and use a larger cake drum for serving.
Assembling the Heart Shape:
Assemble the main cake piece by attaching the rounded parts with a bit of frosting to “glue” them together. Bend and flex the segments slightly to shape the curves. If necessary, trim or carve areas with a sharp knife for a cleaner look. After scoring the cake into sections, cut a small triangle at the top to define the heart. With patience and careful assembling, your heart-shaped masterpiece will come together beautifully.
Color the Buttercream (Optional)
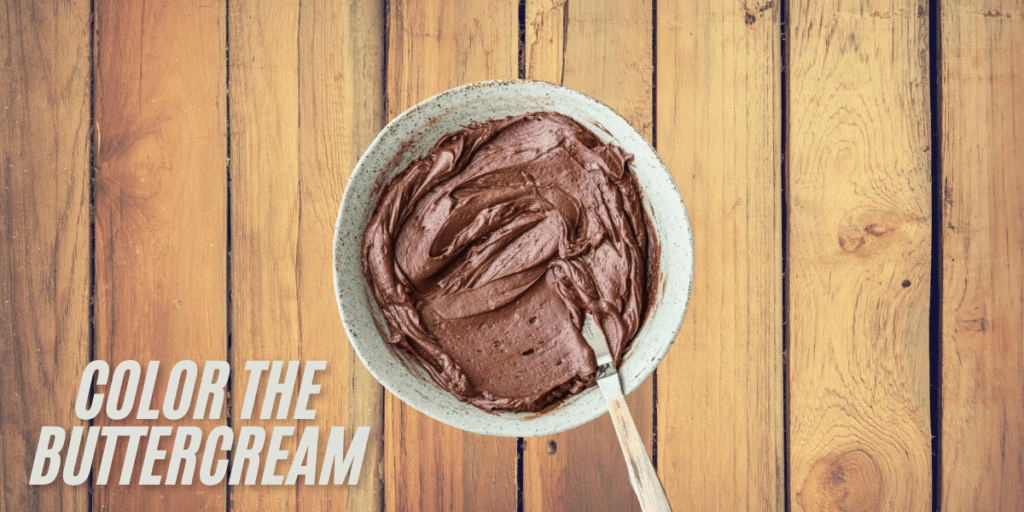
Choosing the Right Colors:
When it comes to decorating a heart cake, the right buttercream color can make all the difference. To achieve the perfect shade, you can start by dividing your buttercream into separate bowls. For the darker pink shades, you can add a drop of fuchsia or a little bit of berry powder to the mix. If you prefer a lighter hue, start with vanilla and a bit of McCormick Nature’s Inspiration Food Colors. Just a tiny amount of these colorings will bring out a vibrant tone. Wilton gel coloring is a great choice to get a smooth, creamy frosting that’s both rich and fluffy. As you blend the colors, you can adjust the amount to get the perfect shade that suits your style.
Piping Tools and Techniques:
For larger areas, use Wilton Tip 4B for piping the shell borders with the dark pink buttercream, while for the small borders or finer details, Wilton Tip 32 and Tip 102 are ideal for those perfect, intricate ruffles. You can also experiment by adding a little pomegranate or beetroot powder for a unique twist. If you notice the color becoming a bit dull, just a splash of milk or quick whisking with an electric mixer will smooth out the texture and bring your color to life. Don’t forget that adding a bit of strawberry puree or a pinch of beta-carotene can deepen the color while keeping the flavor fresh and natural. The result will be a vibrant, eye-catching heart cake that not only looks stunning but also tastes amazing.
Frosting the Cake
Applying Buttercream:
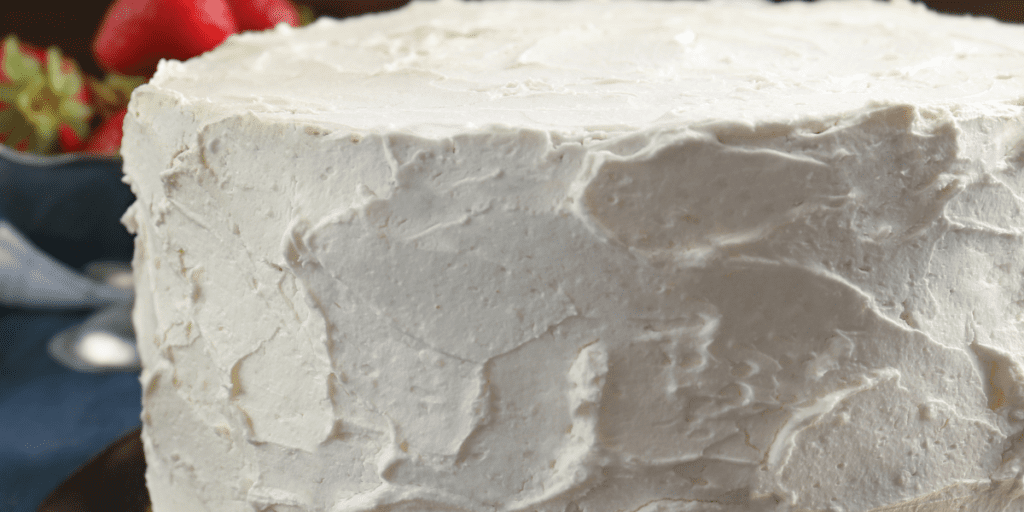
After your crumb-coated cake is firm, it’s time to frost. Place the cake on a turntable for easy movement. Start by using an angled spatula to apply a layer of buttercream on the top and sides. Gently spread the frosting with an icing smoother to create a smooth surface. If you’re adding a jam filling, carefully pipe a border around the cake to hold the jam in place. Then, spoon the jam into the center, ensuring it doesn’t squish out.
Adding Color to Buttercream:
Next, you can add a bit of color to the buttercream by mixing in McCormick Nature’s Inspiration Food Colors, like berry powder for a pink hue. Use an electric hand mixer to beat the cream cheese, butter, and powdered sugar until smooth and combined. If needed, keep some white frosting for final touches. Finally, smooth out the edges and make the cake look sharp and neat for a decorative finish.
Assembling and Crumb Coating the Cake
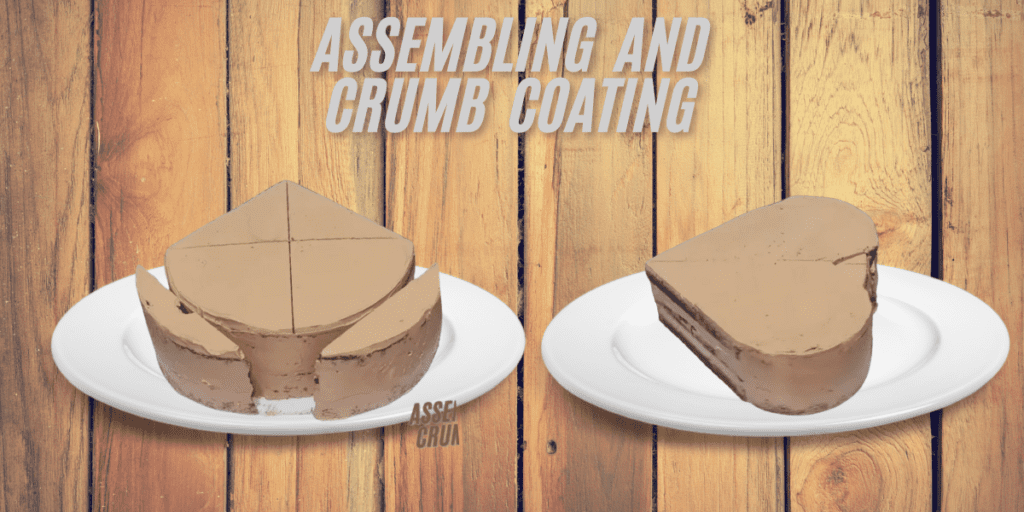
Preparing the Base:
Begin by placing your cake drum or cardboard base on a turntable to make assembly easier. Spread a little buttercream glue to secure the bottom cake layer, and position the rounded cut-offs and curved pieces at the top of the main cake piece to shape the heart. Use a few scoops of buttercream filling to attach the pieces, ensuring the layers adhere smoothly. Gently spread the frosting to about 1/3 or 1/2 cup thickness, and make sure to smooth out any uneven spots.
Crumb Coating:
Next, use a paring knife to carve out a clean “v” shape at the top of the cake. This helps emphasize the heart shape and ensures the layers fit perfectly together. Apply a crumb coat with the remaining pink frosting, spreading it evenly over the top and sides to lock in all the crumbs. Place the cake on a cooling rack or in the refrigerator for about 30 minutes to allow the frosting to firm up.
Refining the Shape:
Once the frosting is set, transfer the cake to a decorative cake plate. Use a ruler to measure and cut a right angle at the bottom to refine the heart shape further. Smooth out the frosting with careful strokes, ensuring no moist crumbs or air bubbles are visible. If needed, preheat your oven to 180°C or 355°F for baking additional layers or decorations, and don’t forget to line your pans with parchment paper to prevent sticking. With everything combined and in place, the heart cake is ready for final decoration.
Create the Vintage Piping
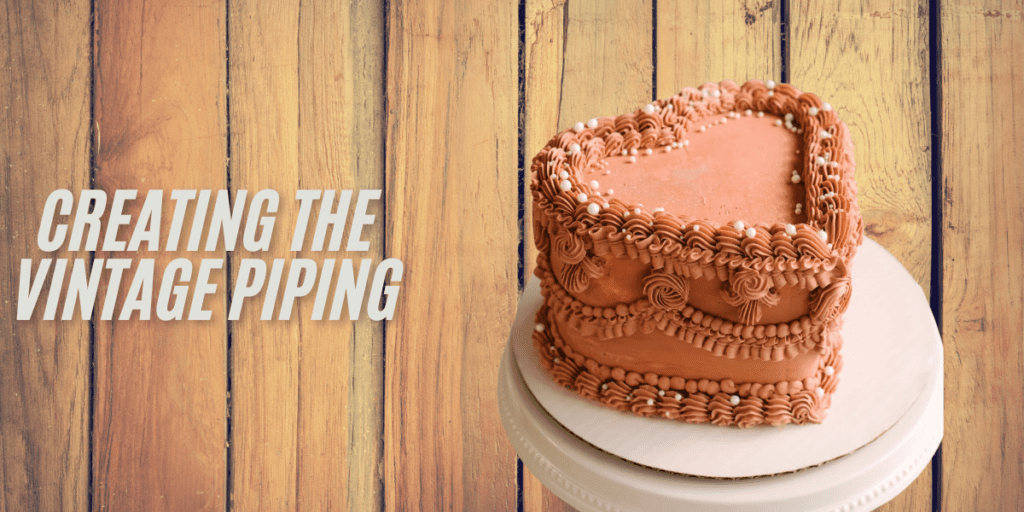
Piping Techniques:
For a heart cake with a vintage touch, start by placing your chilled, frosted cake on a turntable. Using Wilton Tip 4B, pipe a large shell border along the top edge of the cake. Hold the piping bag at a 45-degree angle, squeeze to get the buttercream to fan out, then lower the tip and pull toward you to create the tail of the shell. Gradually relax the pressure to finish the shell border. Next, move to the bottom edge and pipe a smaller shell border using Wilton Tip 32 to add a delicate touch. You can also experiment with Wilton Tip 18 for a white shell border if you want to add contrast with white frosting.
Ruffle Garland and Shells:
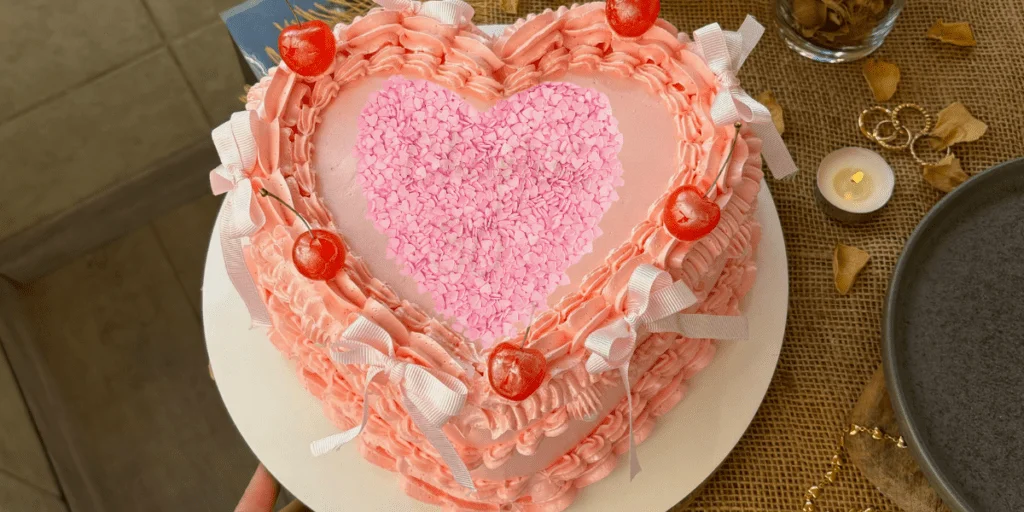
To add a beautiful double ruffle garland around the sides, use Wilton Tip 102. Squeeze the piping bag while moving your hand up and down to create the ruffle texture, forming a semicircle. To complete the garland, simply release pressure once you’ve created the desired shape. If you’re aiming for perfect placement, use a cookie cutter as a template to guide the design. Afterward, pipe overlapping shells to form a heart shape on the top. If you have some leftover pink frosting, add a darker shade by mixing in McCormick berry powder and use it to decorate more areas with a small shell border or dots. Top off your cake with a few maraschino cherries and a thicker layer of frosting, finishing it off with a star nozzle to create decorations that are both beautiful and classic.
Write a Message
Adding a Personal Touch:
To add a personal touch to your heart cake, use mid-toned pink buttercream and a piping bag fitted with Wilton Tip 3 or a coupler with your preferred piping tip. Start by practicing on a cutting board or plate to get a feel for the piping before writing your message on the cake.
Achieving the Right Consistency:
Make sure your buttercream is at a thin consistency—slightly warmer from hand piping the ruffles will help achieve this. If the buttercream is too stiff, add a tiny bit of milk or massage the piping bag with your warm hands.
Perfecting the Message:
If you’re not happy with the result, just use a spatula to remove the letters and re-pipe them until they are centered and look picture-perfect. This will help create the perfect vintage heart cake that will brighten any occasion. You can even add a simple heart or the word LOVE, and cover it with nonpareils like I did in my Chocolate Heart Cake recipe for a beautiful finish.
How to Store the Frosted Cake?
Storing at Room Temperature:
To keep your frosted heart cake fresh, it’s best to store it in an airtight container at room temperature for 1 day.
Refrigeration for Longer Storage:
If you need to keep it longer, place it in the fridge for up to 3 days. On a hot day, it’s important to refrigerate the cake to prevent the frosting from melting.
Freezing for Extended Storage:
For longer storage, you can also freeze the finished cake or any leftovers for up to 3 months. If you freeze it, make sure to wrap the cake in plastic wrap or food wrap before placing it in the freezer.
Thawing and Serving:
To serve, allow the cake to thaw for about 10-30 minutes, depending on how thick the slices are, and you’ll be able to enjoy it just as fresh as when it was first made.
Ingredients:

1. Dry Ingredients
- All-purpose flour (or King Arthur Flour Measure for Measure Flour or Bob’s Red Mill Gluten-free 1-to-1 Baking Flour for a gluten-free option) – 1 3/4 cups
- Baking powder – 2 teaspoons
- Salt – Pinch
- Lemon zest – A hint of flavor
- Granulated sugar – 350 grams

2. Wet Ingredients
- Large eggs – 4 (50 grams each, out of the shell, room temperature)
- Milk of choice – 240 ml
- Canola oil or vegetable oil – 1/4 cup
- Unsalted butter (melted) – 56 grams
- Lemon extract – 1 1/2 teaspoons (or extra vanilla extract for added flavor)
3. Frosting Ingredients
- Full-fat cream cheese – 563 grams (softened to room temperature)
- Unsalted butter – 252 grams (very soft, not melted)
- Powdered sugar – 375 grams
- Vanilla extract – 1 teaspoon
- Pink food coloring – A few drops for a charming hue
- Maraschino cherries – For garnishing
4. Optional Layering
- Raspberries – 155 grams (fresh or frozen)
- Quick raspberry jam – Made with raspberries and a touch of sugar for flavor enhancement.
Steps for Creating the Perfect Heart-Shaped Cake:
1. Shaping the Cake:
- Place the cake on a cutting board.
- Use a serrated knife to cut two pieces for the pointed bottom of the heart, then set them aside.
- Use a template or cake drum for precision, and attach the rounded pieces to form the top of the heart.
2. Assembling and Crumb Coating:
- Place the cake on a turntable and secure the bottom layer with a little buttercream.
- Attach the rounded pieces with buttercream, shaping the curves.
- Carve a “v” shape at the top to define the heart shape, then apply a crumb coat and refrigerate for 30 minutes.

3. Frosting the Cake:
- Once the crumb coat is set, apply a layer of buttercream to the top and sides using an angled spatula.
- Use an icing smoother to create a smooth finish.
- Add jam filling with a piped border to prevent squishing, and smooth the frosting.
4. Color the Buttercream (Optional)
- Divide buttercream into bowls and add food coloring to achieve the desired shades, using McCormick Nature’s Inspiration or Wilton gel for a smooth, vibrant color.
- Pipe borders with Wilton Tip 4B for large shells and Tip 32 for smaller details.
5. Creating the Vintage Piping
- Pipe a large shell border along the top with Wilton Tip 4B.
- Use Wilton Tip 32 for a smaller shell border on the bottom edge.
- Add a double ruffle garland with Wilton Tip 102 for texture and elegance.
- Use leftover frosting to create a heart shape or other decorative patterns.
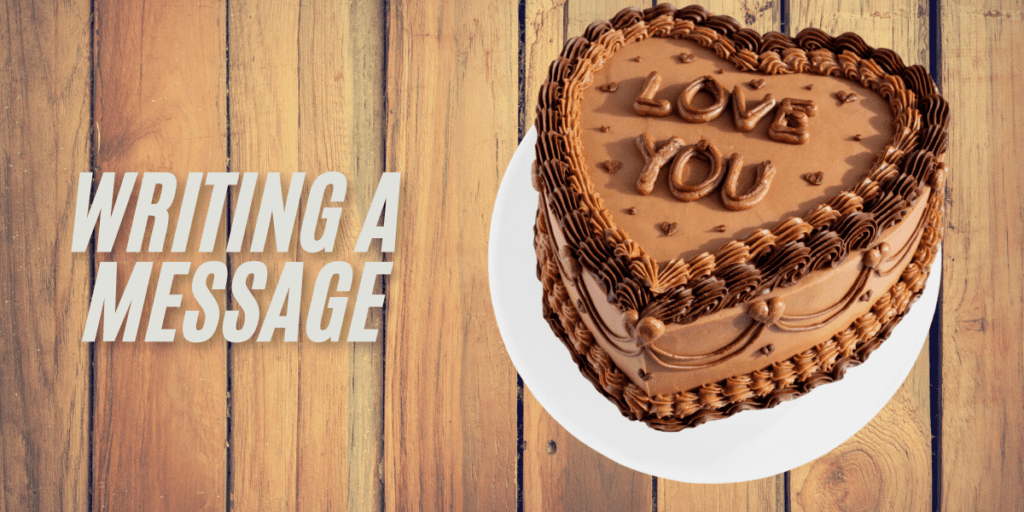
6. Writing a Message:
- Use a mid-tone pink buttercream and Wilton Tip 3 to pipe a personal message on the cake.
- Practice on a plate before writing on the cake to ensure a smooth, even design.
By following these steps, you can create a beautiful heart-shaped cake with a vintage touch that’s perfect for any occasion.