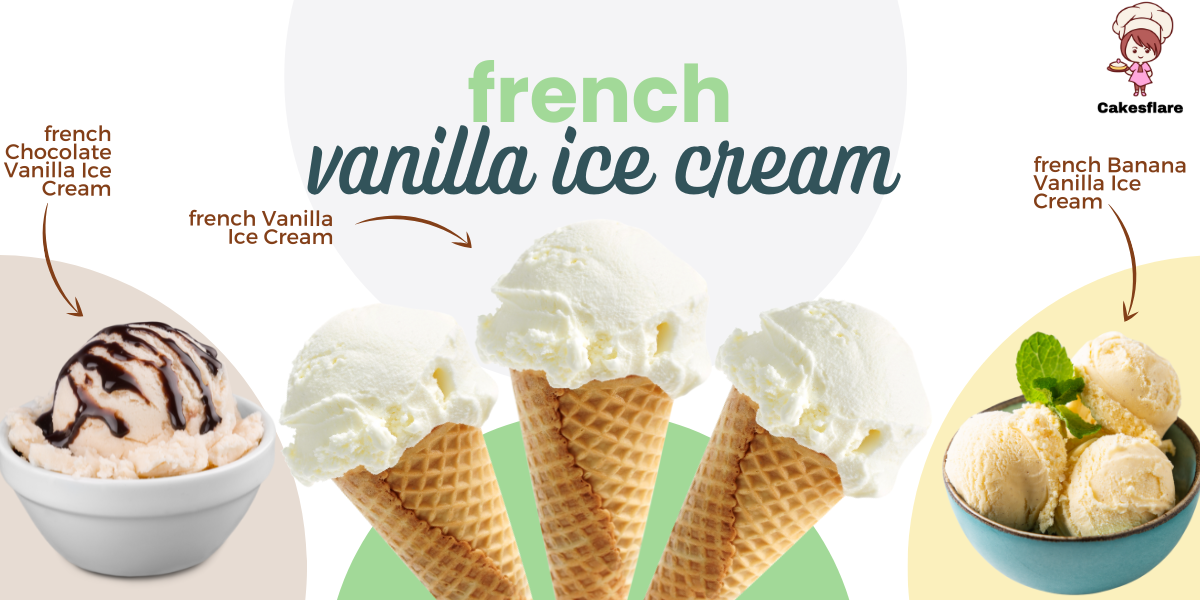
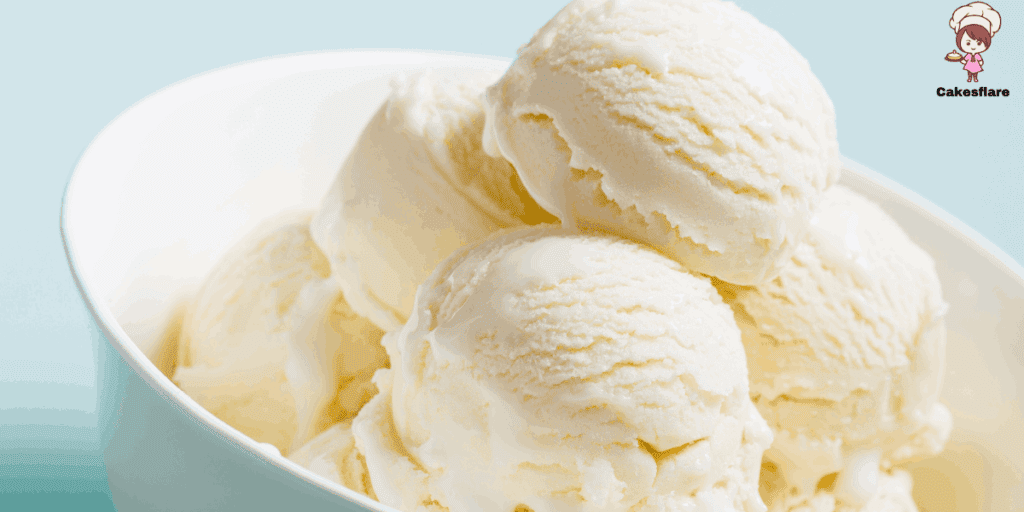
The Creamiest French Vanilla Ice Cream: A Homemade Dream!
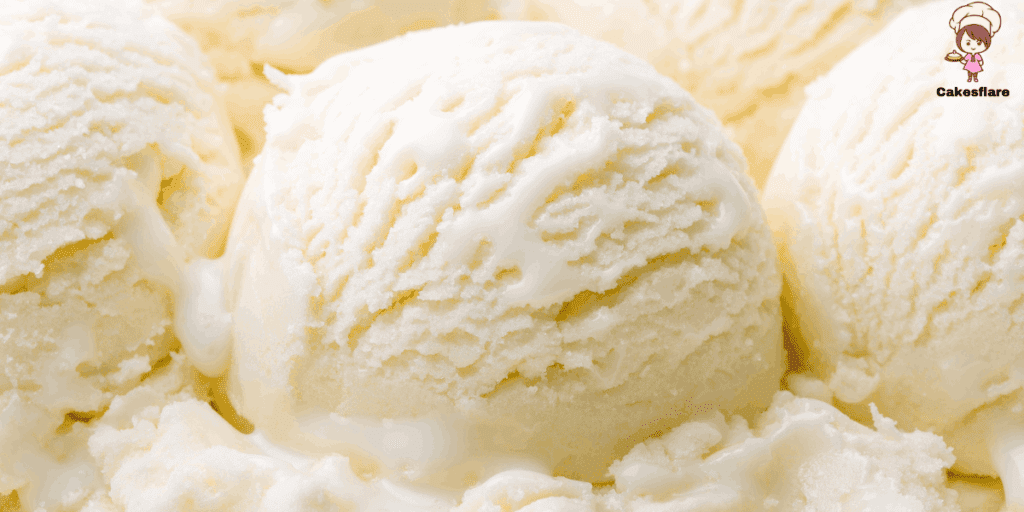
When making French vanilla ice cream, there’s nothing quite like the silky smooth texture of a custard-based creation. With just 6 ingredients, this luscious treat combines whole milk, cream, and eggs to give you that perfectly creamy texture. The key to the rich flavor is the vanilla bean paste and almond extract, which adds a distinctive taste that sets it apart from regular vanilla. I’ve had my fair share of ice cream, and I can confidently say that this homemade version beats any store-bought option. Whether it’s enjoyed plain or with mix-ins like fresh fruit or drizzled with blueberry syrup, this ice cream is the best Summer dessert for any occasion. It pairs wonderfully with baked goods like cherry pie or crumble bars, making it a versatile addition to any meal or treat. Even those who claim to be ice cream haters will be converted to this creamiest French vanilla, which perfectly balances rich and smooth.
Philadelphia vs. French Style
The difference between the Philadelphia and French styles is clear regarding French vanilla ice cream. French style is made with egg yolks and custard-based, creating a creamier and richer texture often described as velvety. This version also has a signature yellow tint and a deeper vanilla bean or extract flavor. However, it requires more time and effort due to the additional steps, including cooking the custard and allowing it to chill before churning. On the other hand, the Philadelphia style is eggless, relying on a more straightforward mix of milk, sugar, and cream. It’s lighter and has a more airy texture, which some people find more refreshing, but it can be less rich in flavor. This style tends to harden more quickly in the freezer and lacks the complexity of the custard in French-style ice cream. Despite the effort required, I prefer the French style’s ultra-rich texture and depth of flavor, especially when served as a delicious dessert after a meal.
Essential Ingredients for French Vanilla Ice Cream
Base Ingredients
whole milk, heavy cream, egg yolks, scoopable consistency, smooth, rich texture
Flavoring
vanilla bean paste, vanilla extract, flavors, salt, sugar
Tools and Equipment
ice cream maker, Cuisinart, KitchenAid, compressor model, scoops, cones, bowls, ice cream scoop
Instructions for Making French Vanilla Ice Cream
1. Warm the Milk and Cream
Start by warming whole milk and heavy cream in a pot over medium heat, stirring occasionally. Once the mixture is warm but not boiling, proceed to the next step.
2. Prepare the Yolk Mixture
Whisk the egg yolks and sugar in a separate large bowl until smooth. This will form your egg mixture.
3. Combine the Warm Cream with the Yolk Mixture
Slowly pour some warm cream into the yolk mixture, using a ladle and whisking constantly. This helps avoid any eggs from curdling.
4. Return to the Pot and Cook
Return everything to the pot once the milk mixture is fully incorporated into the egg mixture. Cook over medium heat, stirring constantly, until the mixture thickens slightly and reaches around 170°F. You can check this temperature with an instant-read thermometer to ensure accuracy.
5. Strain the Custard
After thickening the custard, strain it through a fine-mesh strainer into a bowl to remove any solid bits.
6. Add Vanilla Flavor
Stir in vanilla bean paste or extract to infuse the rich vanilla flavor into the custard.
7. Chill the Mixture
Cover the mixture with plastic wrap and let it chill in the fridge until completely cold.
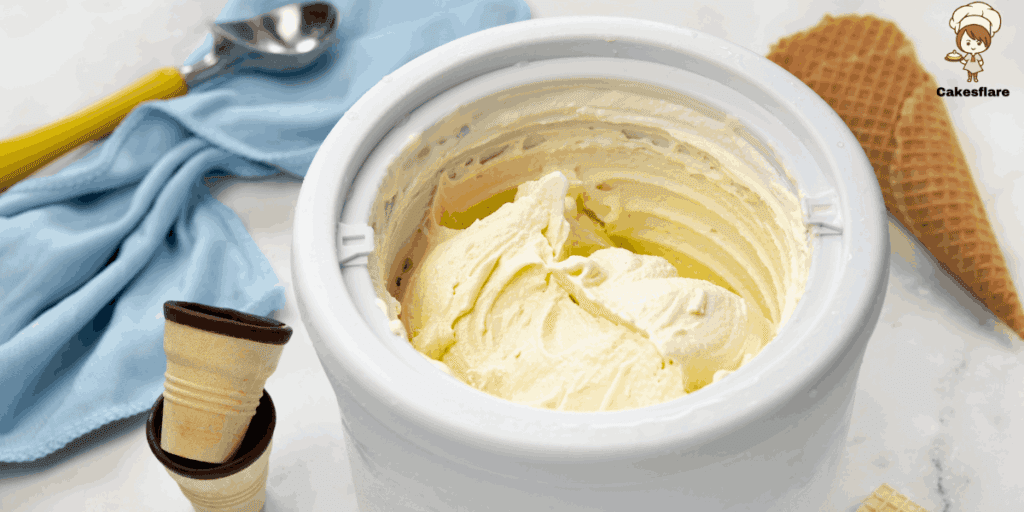
8. Churn the Ice Cream
Once chilled, transfer the custard to your ice cream maker and begin churning according to the manufacturer’s instructions.
9. Freeze the Ice Cream
After the churning process, transfer the ice cream to an airtight container. Cover it with plastic wrap and freeze for at least four hours or until it reaches a firm, smooth texture.
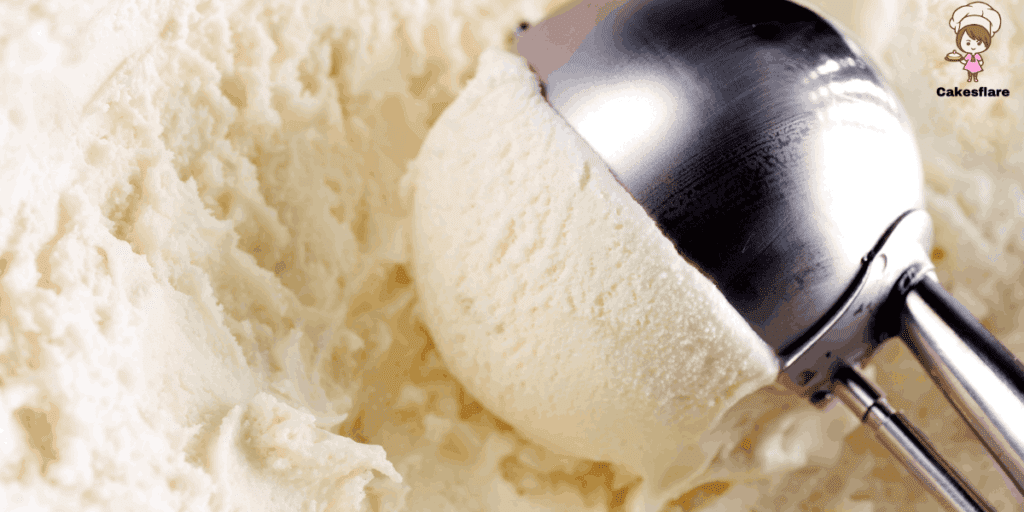
10. Enjoy Your Ice Cream
Your homemade French vanilla ice cream is now ready to enjoy with its delightful flavors!
Options and Substitutions in French Vanilla Ice Cream
Flavor Enhancements with Vanilla and Chocolate
If you want to personalize your French vanilla ice cream, there are plenty of ways to add new flavors. For a more decadent twist, consider adding vanilla bean instead of standard vanilla extract to enhance that deep, aromatic flavor. You can also experiment with chocolate, adding 6 ounces of melted or white chocolate to the mix for a creamy, indulgent treat.
Fruity and Nutty Variations
Blend in fresh, pitted, sweet, dark cherries or raspberry puree to give your ice cream a fruity vibe. For an extra touch, stir in some raspberry liqueur like Chambord during the last minutes of churning. Incorporating whole Oreo cookies or even peanut butter cups in the final few minutes of churning is a fun option for those who prefer more texture in their ice cream.
Textures and Flavor Combinations
You can add mini semisweet chocolate chips, malted milk powder, or peppermint extract for refreshing minty notes. For a more unique flavor combination, blend in Nutella or melted peanut butter, ensuring it mixes well with the creamy base. Don’t forget to finish with a quick ice bath after you’ve prepared the custard, and use a food processor for any blending needed.
Add a Fun Twist with Color and Zest
Add green food coloring for visual appeal, or experiment with other unique ingredients like orange zest for a citrusy kick.
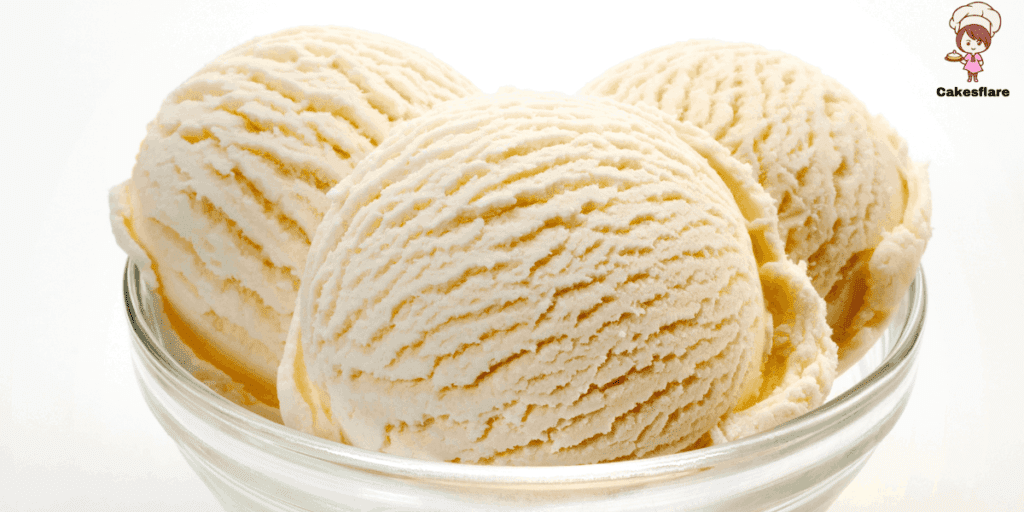
The Perfect French Vanilla Ice Cream Recipe
Making French vanilla ice cream at home is easy with just 6 ingredients and a little patience. Prepare a custard base using whole milk, cream, vanilla bean paste or vanilla extract, and eggs to create a rich, silky mixture. With about 8 hours and 45 minutes, including a prep time of 30 minutes and a cooking time of 15 minutes, you’ll have a creamy dessert that everyone will love, even the haters of regular ice cream. After churning the custard in an ice cream maker, you’ll end up with the creamiest treat, perfect for those warm summer days. The equal ratio of milk and cream gives the ice cream a smooth, rich base, making it a classic favorite for any occasion.
Ingredient Table
Ingredient |
Quantity |
Notes |
| Whole Milk | 1 ½ cups (350 ml) | |
| Heavy Cream | 1 ½ cups (350 ml) | |
| Egg Yolks | 4 large | |
| Granulated Sugar | 1 cup (200 g), divided | ⅔ cup for custard, ⅓ cup for refining the taste |
| Vanilla Bean Paste or Extract | 1 tbsp (15 ml) or 1 vanilla bean | For the richest flavor |
| Pinch of Salt | 1/8 tsp | Balances sweetness |
Step by Step Instructions
Step |
Instructions |
| Prepare the Custard Base | Combine the whole milk and heavy cream in a medium saucepan. Heat over medium-low until warm but not boiling. |
| Whisk the Egg Yolks | Whisk the egg yolks and granulated sugar in a separate bowl until the mixture becomes pale and slightly thickened. |
| Temper the Egg Yolks | Slowly pour a small amount of the warm milk and cream mixture into the egg yolks while whisking constantly. This helps prevent the eggs from curdling. Gradually whisk in the rest of the warm mixture. |
| Cook the Custard | Return the mixture to the saucepan and cook over medium heat, stirring constantly with a wooden spoon until the custard thickens and coats the back of the spoon (about 170°F or 77°C). |
| Flavor the Custard | Remove from heat and stir in the vanilla bean paste or extract with a pinch of salt. If using a vanilla bean, scrape out the seeds and add them to the custard and the pod. |
| Chill the Custard | Let the custard cool to room temperature, then refrigerate for at least 4 hours or overnight to thoroughly chill. |
| Churn the Ice Cream | Once chilled, pour the custard into an ice cream maker and churn according to the manufacturer’s instructions. |
| Freeze the Ice Cream | Transfer the churned ice cream to a container and freeze for at least 2 hours before serving. |
Notes & Tips
- Egg Yolks: Ensure that fresh, large egg yolks are used for a rich custard base.
- Vanilla Flavor: Using vanilla bean paste or an actual vanilla bean gives the ice cream a more authentic and rich flavor. Vanilla extract is a convenient alternative.
- Texture: Churning the ice cream is essential for a smooth, creamy texture. If you don’t have an ice cream maker, you can freeze the mixture and stir every 30 minutes to break up ice crystals until the desired consistency is reached.
- Storage: Store the finished ice cream in an airtight container in the freezer for up to 2 weeks.