
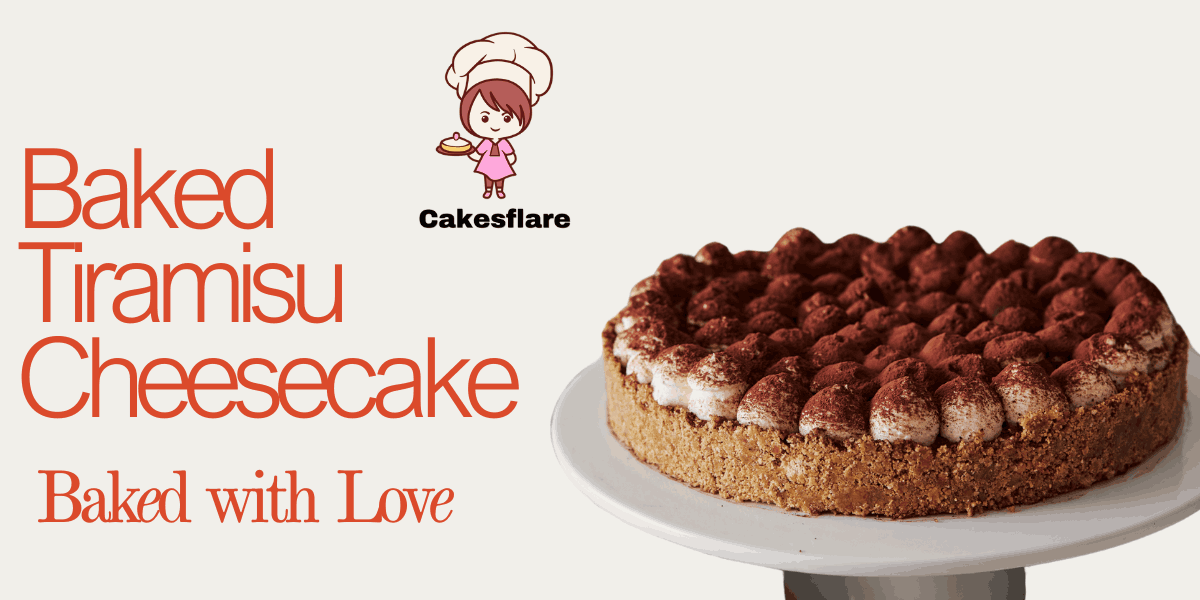
The Ultimate Tiramisu Cheesecake: A Dream Dessert Fusion!
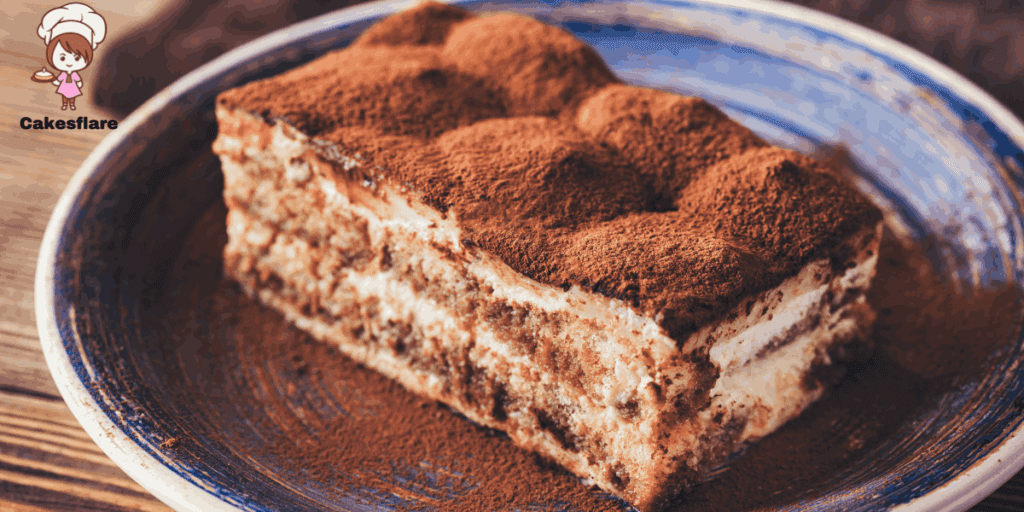
If you enjoy both cheesecake and tiramisu, this dessert is a dream come true. It combines a New York-style cheesecake’s creamy, silky texture with a traditional Italian classic’s rich, coffee-based flavors. The foundation starts with a delicious chocolate crust, adding a deep cocoa note to every bite. A layer of Marsala-infused custard is carefully blended with a luscious mascarpone mixture, creating an indulgent experience. In the middle, a layer of espresso-soaked ladyfingers is nestled inside, contrasting the whipped, airy cream on top. Every slice feels like a showstopper, making it perfect for any holiday gathering.
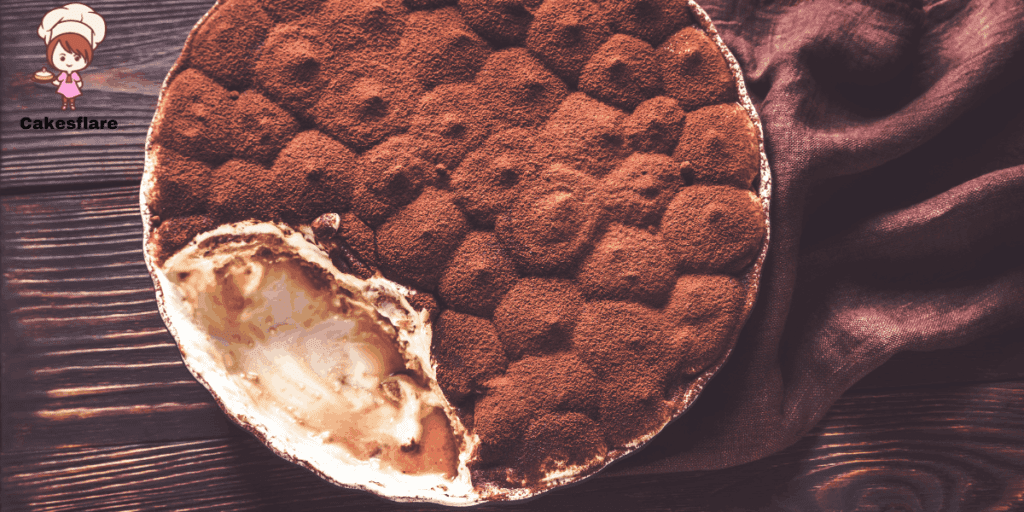
The beauty of this homemade masterpiece lies in its balance of flavors and textures. A heavy dusting of finely grated cocoa adds a touch of elegance, while the biscuit layer soaks up the bold notes of strong espresso, enhancing the depth of flavor. The outside remains firm, yet every bite melts effortlessly. Whether visiting family or hosting guests, this fun, no-bake twist on the best of both worlds impresses; this incredible showstopping creation is a must-try if you love desserts with a twist. I always recommend savoring it slowly to appreciate the flavored infused notes that make this classic unique.
A Must-Try Dessert
A Perfect Fusion of Flavors
This Baked Tiramisu Cheesecake combines the best of both worlds: the decadent indulgence of cheesecake with the classic tiramisu flavors. It’s a must—try for those who appreciate creamy, coffee-infused desserts with a touch of elegance.
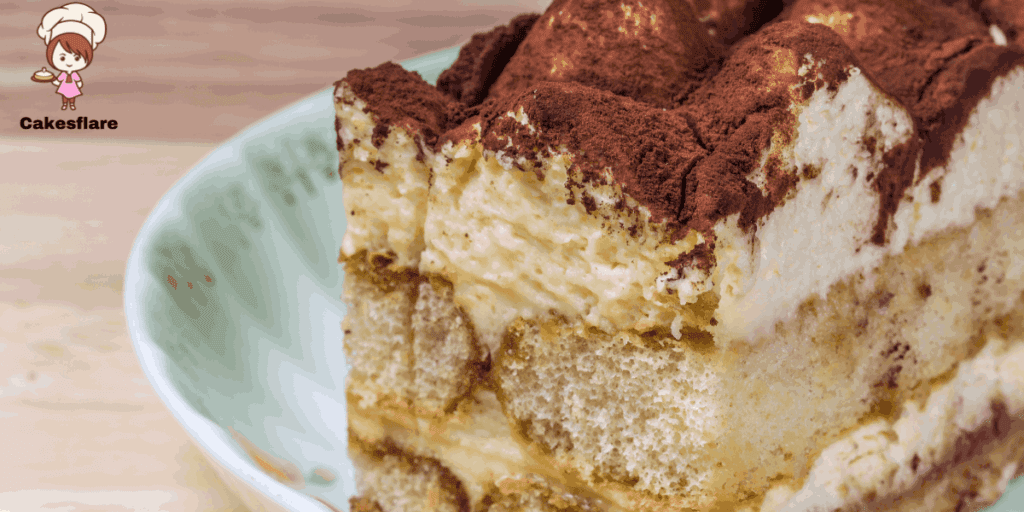
Indulgent Texture and Flavor
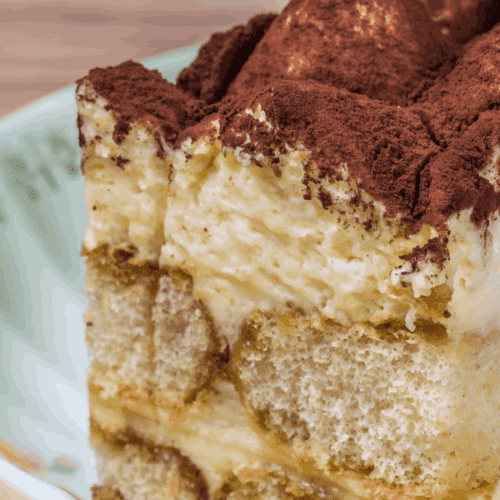
Unlike a no-bake cheesecake, this version has a dense, rich texture with a smooth and creamy finish. The base is made with a perfectly balanced mixture of egg yolks to replicate the traditional zabaglione custard in classic tiramisu. A layer of espresso-soaked Savoiardi or Arrowroot biscuits is placed between the batter, infusing the cheesecake with a deep coffee flavflavort that blends harmoniously with the swirl of infused mascarpone.
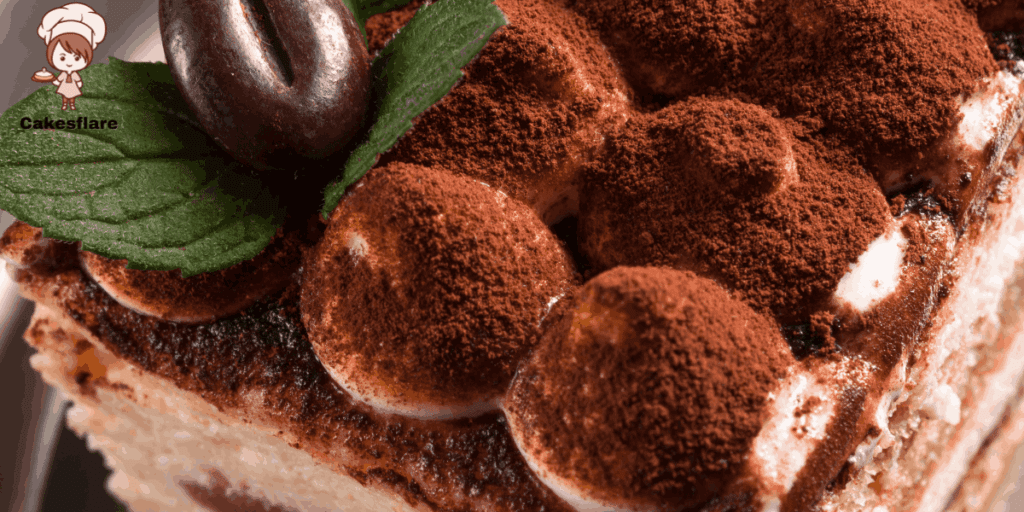
Elegant Topping and Presentation
The cheesecake is topped with fresh whipped cream to complete this masterpiece, adding a light and airy texture. Heavy cocoa powder dusting enhances the flavor, making each bite even more indulgent. With its simple yet elegant presentation, this dessert is a true showstopper, whether you discovered the recipe online or through a recommendation. Every effort put into making it is worth it.
Essential Ingredients for the Perfect Flavor
The Cheesecake Base
- Base options: Graham cracker crumbs, digestive biscuits, cookies
- Binding ingredients: Unsalted butter (melted and cooled), packed brown sugar
- Texture enhancers: Cornstarch, all-purpose flour
The Cheesecake Filling
- Main ingredients: Full-fat cream cheese, mascarpone
- Flavoring agents: Sugar, vanilla extract, salt
- Eggs: Large, room temperature (for a smooth, velvety finish)
Coffee-Soaked Biscuits
- Biscuit options: Ladyfinger biscuits, arrowroot biscuits, sponge fingers
- Soaking liquid: Hot espresso (for baritone, bold flavor
Whipped Cream Topping and Decoration
- Topping: Whipping cream (lightly sweetened with granulated sugar)
- Flavor enhancers: Instant coffee, brewed espresso
- Final touch: Dutch cocoa powder (for dusting)
Extra Indulgence
- Chocolate enhancement: Semisweet chocolate shavings
- Liquid addition: Coffee liqueur (for extra richness)
- Texture balance: Rich, whipped, and freshly prepared layers
Step-by-Step Baking Guide
Preparing the Crust
- Preheat the oven to 170C (325F).
- Line a 9-inch springform pan with parchment paper and wrap the outside with aluminum foil to protect it during the water bath.
- Crush the biscuits into fine crumbs using a food processor or place them in a resealable bag and crush them with a rolling pin.
- Mix the crumbs with melted butter, then press the mixture evenly into the tin.
- Bake for 10 minutes, then let it cool completely before adding the filling.
Making the Cheesecake Batter
- In a large bowl, combine cream cheese, mascarpone, and sugar.
- Beat on low speed until the mixture is smooth.
- Add vanilla extract, flour, and corn flour, and mix until fully incorporated.
- In a separate bowl, whisk the eggs lightly. Gradually add them to the batter, mixing gently to avoid too much air.
- Slowly pour in the warm heavy cream, stirring continuously.
- Melt the white chocolate and blend it into the mixture.
- Pour half of the batter into the prepared tin and spread it evenly.
Adding the Sponge Layer
- Dip the sponge fingers into hot espresso quickly, ensuring they are soaked but soft.
- Arrange them in a single layer over the cheesecake batter, cutting some in half to fill any gaps.
- Lightly dust the sponge layer with cocoa powder for extra flavor
- Pour the remaining batter over the top and gently tap the pan to remove air bubbles.
Baking the Cheesecake
- Place the cheesecake in a large roasting dish and carefully pour boiling water around it to create a water bath.
- Bake for 35-40 minutes at a low temperature until the sides are set, but the cement remains slightly jiggly.
- Turn off the oven, open the door slightly, and let it sit for one hour.
- Remove it from the oven and place it in the fridge overnight to set it completely.
Decorating and Serving
- The next day, carefully remove the cheesecake from the pan and transfer it to a serving stand.
- Beat whipping cream with sugar until stiff peaks form.
- Pipe the cream on top in a decorative pattern.
- Lightly dust the cheesecake with cocoa powder.
- FAddgratings of semisweet chocolate or drizzle with coffee-flavored liqueur. For an extra indulgent touch
- Now, it’sit’sdy to serve and enjoy!
Best Storage Tips for Cheesecake
Refrigeration for Freshness: For the best storage, place the cheesecake in an airtight container and keep it in the refrigerator for up to 5 days to maintain its freshness.
Freezing Instructions: To freeze the cheesecake, ensure it is thoroughly chilled. Wrap the whole cheesecake or individual slices tightly in plastic wrap, followed by a layer of aluminum foil, and then place them in a resealable freezer bag.
Preventing Freezer Burn: Proper wrapping helps prevent freezer burn and keeps the cheesecake in perfect condition for up to 3 months.
Best Freezing Practice: Avoiding the cream topping before freezing when storing a slice or the entire cake will yield the best results.
Final Thoughts
Baked Tiramisu Cheesecake is a perfect fusion of two classic desserts, offering the best of both worlds. Desserts is a true showstopper from its creamy, coffee-infused layers to its elegant presentation. Whether for special occasions or casual indulgence, it delivers a luxurious taste experience that is well worth the effort. Preparing it in advance and following proper storage techniques ensures that every slice remains fresh and delicious. This is a must-try dessert if you love the flavors of tiramisu and cheesecake!
Baked Tiramisu Cheesecake: (FAQs)
Q1: What Makes Baked Tiramisu Cheesecake Different from Traditional Tiramisu?
Ans: Unlike traditional tiramisu, typically a no-bake dessert, baked tiramisu cheesecake combines the creamy richness of cheesecake with the bold flaflavors tiramisu. It has a dense texture, a chocolate crust, and layers of espresso-soaked ladyfingers nestled within the batter. This unique blend creates an indulgent experience with a smooth, velvety finish.
Q2: How Do You Achieve the Perfect Texture for This Cheesecake?
Ans: The key to the perfect texttexturizingusing is using full-fat cream cheese and mascarpone, blending lengthly, and incorporagently incorporating eggs’ excess air. A water bath helps bake the cheesecake evenly, preventing cracks and ensuring a silky, creamy consistency. Chilling it overnight further enhances the texture.
Q3: What Ingredients Enhance the Flavor of Baked Tiramisu Cheesecake?
Ans: This cheesecake’s rich flavors come from a combination of key ingredients, including mascarpone, cream cheese, espresso-soaked ladyfingers, vanilla extract, and a touch of Marsala wine or coffee liqueur. A cocoa powder dusting and whipped cream topping add a layer of decadence.
Baked Tiramisu Cheesecake recpie
Equipment
- 9-inch springform pan
- Mixing bowls.
- Electric mixer (stand or hand mixer)
- Food processor (for crushing biscuits, optional)
- Rolling pin (alternative to food processor)
- Spatula
- Whisk
- Measuring cups and spoons
- Parchment paper
- Aluminum foil
- Large roasting dish (for water bath)
- Boiling kettle (for water bath)
Ingredients
- The Cheesecake Base
- 1 ½ cups Graham cracker crumbs digestive biscuits, or cookies
- 6 tablespoons Unsalted butter melted and cooled
- 2 tablespoons Packed brown sugar
- 1 tablespoon Cornstarch
- 2 tablespoons All-purpose flour
- The Cheesecake Filling
- 16 oz Full-fat cream cheese
- 8 oz Mascarpone
- ¾ cup Sugar
- 1 teaspoon Vanilla extract
- ½ teaspoon Salt
- 3 large Eggs room temperature, for a smooth, velvety finish
- Coffee-Soaked Biscuits
- 12 Ladyfinger biscuits arrowroot biscuits, or sponge fingers
- ½ cup Hot espresso for deep, bold flavor
- Whipped Cream Topping and Decoration
- 1 cup Whipping cream lightly sweetened
- 2 tablespoons Granulated sugar
- 1 teaspoon Instant coffee
- 2 tablespoons Brewed espresso
- 2 tablespoons Dutch cocoa powder for dusting
- Extra Indulgence
- ¼ cup Semisweet chocolate shavings
- 1 tablespoon Coffee liqueur for extra richness
- Rich Whipped and freshly prepared layers
Instructions
- Preparing the Crust
- Preheat the oven to 170C (325F).
- Line a 9-inch springform pan with parchment paper and wrap the outside with aluminum foil to protect it during the water bath.
- Crush the biscuits into fine crumbs using a food processor or place them in a resealable bag and crush with a rolling pin.
- Mix the crumbs with melted butter, then press the mixture evenly into the tin.
- Bake for 10 minutes, then let it cool completely before adding the filling.
- Making the Cheesecake Batter
- Combine cream cheese, mascarpone, and sugar in a large bowl.
- Beat on low speed until the mixture is smooth.
- Add vanilla extract, followed by flour and corn flour, and mix until fully incorporated.
- Whisk the eggs lightly in a separate bowl, then gradually add them to the batter, mixing gently to avoid too much air.
- Slowly pour in the warm heavy cream, stirring continuously.
- Melt the white chocolate and blend it into the mixture.
- Pour half of the batter into the prepared tin and spread it evenly.
- Adding the Sponge Layer
- Dip the sponge fingers into hot espresso for a quick moment, ensuring they are soaked but not too soft.
- Arrange them in a single layer over the cheesecake batter, cutting some in half if necessary to fill any gaps.
- Lightly dust the sponge layer with cocoa powder for extra flavor.
- Pour the remaining batter over the top and gently tap the pan to remove any air bubbles.
- Baking the Cheesecake
- Place the cheesecake in a large roasting dish and carefully pour boiling water around it to create a water bath.
- Bake for 35-40 minutes at a low temperature until the sides are set but the center remains slightly jiggly.
- Turn off the oven, open the door slightly, and let it sit for one hour.
- Remove it from the oven and place it in the fridge overnight to set completely.
- Decorating and Serving
- Remove the cheesecake from the pan and transfer it to a serving stand.
- Beat whipping cream with sugar until stiff peaks form.
- Pipe the cream on top in a decorative pattern.
- Lightly dust the cheesecake with cocoa powder.
- Add gratings of semisweet chocolate or drizzle with coffee-flavored liqueur for an extra indulgent touch.
- Now, it’s ready to serve and enjoy!
Notes
The water bath helps prevent cracking and ensures a smooth consistency.
Ladyfingers should only be lightly dipped in espresso to avoid becoming soggy.
Whipped cream topping should be added fresh before serving for the best texture.
Freezing is possible, but avoid freezing with the cream topping.
Nutritional Value (Per Slice—Approximate)
- Calories: 350-400 kcal
- Carbohydrates: 35-45g
- Fats: 22-30g
- Protein: 5-8g
- Sugars: 25-30g
- Fiber: 1-2g

One Response